13 Jan 2014
NOTE: This is an excerpt from my gnoblog, where I am stripping paint off of my old, and partially completed ogre army, and giving them a fresh start. I wrote this bit to report on what I've been up to, but also as a tutorial for those that may be curious about doing this with their own models.
PAINT STRIPPING (Part 1):
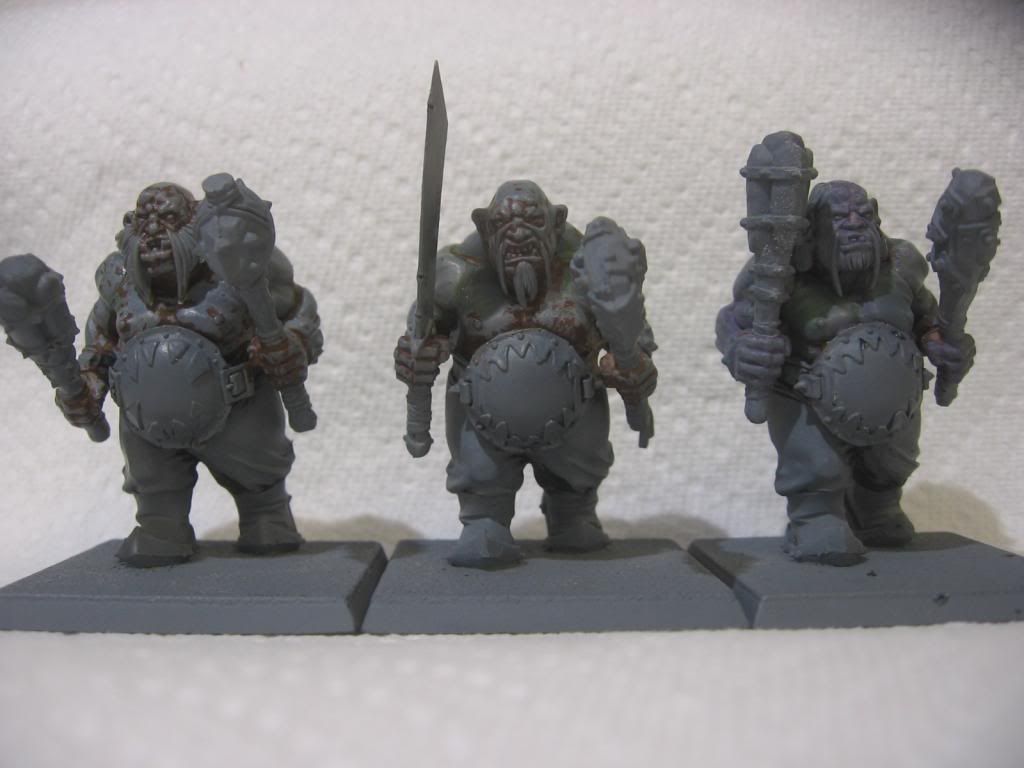
To start off with the rebirth of my Ogres, I determined that I really needed to start over. The reason being is that I had tried several different paint schemes (4 or 5 different flesh tones for example) so that the few models that were painted, were starting to get a little "clumpy". While any ogre will appreciate a little clumpyness around the mid section, as a hobbyist, I knew that these models would look terrible if I didn't strip the paint off of them and bring it back down to bare plastic and start over all together.
After searching around the internet, and a few experiments of my own, I came up with the following way of stripping paint off of my plastic models, and it seemed to work fairly well. If you are planning on doing this for your own minis you will need the following supplies:
1) Simple Green, it comes in 22oz spray bottles or gallon jugs
2) A couple of plastic cups, I used "Beer Pong" cups. Don't ask
3) An old toothbrush, in my case I used one of those cheap electric ones with the vibrating bristles
4) A small scraper, I used the GW sculpting tool and a dental pick
5) Another "dipping" tub for rinsing the models
6) Papertowels
* The following pictures were staged after the fact and not during the process. I didn't think of documenting this part until after I was already done.
STEP 1:
Pour ½ inch, or 1 centimeter, of Simple Green into the cup. Add warm water until the cup is from ⅔ to ¾ full.
PIC: Cup on the left with ½" of Simple Green, cup on the right with water added to the Simple Green

STEP 2:
Dunk the mini. I let them soak overnight, but in the end they only need about 5 to 6 hours. If you let the mini's soak too long, as in a week or so, the plastic does get soft (just ask my ebay purchased Imperial Guard troops), so a few hours is all you need. Dunk them before heading to bed and they'll be ready to go by morning.
In this case, because these are plastic, they tend to float. You can try wedging them into the cup on their side, or even try to weigh them down, however, in the end I found the simplest solutions was to flip them upside down. Any sand from your basing will come off at this stage.
PIC: Base up Mini

I initially set up 5 soaking cups but then added 5 more realizing it would take too long otherwise. If you are doing models with a smaller base, you can get 5 or 6 in these cups, but if you're doing a bigger project such as 100 Clan Rats, you could use a 9"x13" pan and just dump them all in the "pool" for a swim.
PIC: An army of cups for my army

See part 2 for the scrub down...
-- Vorgrut --
PAINT STRIPPING (Part 1):
To start off with the rebirth of my Ogres, I determined that I really needed to start over. The reason being is that I had tried several different paint schemes (4 or 5 different flesh tones for example) so that the few models that were painted, were starting to get a little "clumpy". While any ogre will appreciate a little clumpyness around the mid section, as a hobbyist, I knew that these models would look terrible if I didn't strip the paint off of them and bring it back down to bare plastic and start over all together.
After searching around the internet, and a few experiments of my own, I came up with the following way of stripping paint off of my plastic models, and it seemed to work fairly well. If you are planning on doing this for your own minis you will need the following supplies:
1) Simple Green, it comes in 22oz spray bottles or gallon jugs
2) A couple of plastic cups, I used "Beer Pong" cups. Don't ask
3) An old toothbrush, in my case I used one of those cheap electric ones with the vibrating bristles
4) A small scraper, I used the GW sculpting tool and a dental pick
5) Another "dipping" tub for rinsing the models
6) Papertowels
* The following pictures were staged after the fact and not during the process. I didn't think of documenting this part until after I was already done.
STEP 1:
Pour ½ inch, or 1 centimeter, of Simple Green into the cup. Add warm water until the cup is from ⅔ to ¾ full.
PIC: Cup on the left with ½" of Simple Green, cup on the right with water added to the Simple Green
STEP 2:
Dunk the mini. I let them soak overnight, but in the end they only need about 5 to 6 hours. If you let the mini's soak too long, as in a week or so, the plastic does get soft (just ask my ebay purchased Imperial Guard troops), so a few hours is all you need. Dunk them before heading to bed and they'll be ready to go by morning.
In this case, because these are plastic, they tend to float. You can try wedging them into the cup on their side, or even try to weigh them down, however, in the end I found the simplest solutions was to flip them upside down. Any sand from your basing will come off at this stage.
PIC: Base up Mini
I initially set up 5 soaking cups but then added 5 more realizing it would take too long otherwise. If you are doing models with a smaller base, you can get 5 or 6 in these cups, but if you're doing a bigger project such as 100 Clan Rats, you could use a 9"x13" pan and just dump them all in the "pool" for a swim.
PIC: An army of cups for my army
See part 2 for the scrub down...
-- Vorgrut --
How do you add your Gnoblars to your signature?