The Ogre Stronghold

The first and largest home of the Ogre Kingdoms — preserved.

Filter by date range

Standalone from the search box above — this queries Pagefind directly and checks each result's date itself, since the packaged search widget can only match a single exact date, not a range.

The Adventures of Vorgrut's Ogres

original thread ↗

INTRODUCTION: Greetings to the mighty tribes of The Great Maw!

I have spent many many years away from Warhammer Fantasy, and while having played 40k, Warma-Hordes, and even a bit of Dark Potential in the interim, I have spent the better part of the last year and a half away from the hobby entirely.  That being said, I felt it was finally time to get back into it, namely with my "Jumbo Mini's", the Ogres.

So what I will be presenting here to you is the transition from dusty old mini's that have never seen the table to 2,500+ points of a new Ogre tribe in the making.  Along the way there will be plenty of pics of my progress in addition to a few tutorial moments on how I did things. 

The tutorials are not to belittle your abilities or your knowledge on how this all works, it's just my way of helping out fellow gamers that may be able to make use of this information.  I am by no means an expert at any of this, but I know that sometimes seeing how somebody else approaches a problem can help us in our own efforts. So if I can help even just one of you with a new trick that helps make your hobby experience more enjoyable, then the effort was well worth it in my book.

As always, critiques and comments are accepted and expected.  If you have anything negative to say about my work that's fine, just don't say "That really sucks".  Do me the favor and explain why it "sucks", and what I can do to fix it. 

So here we go... 8)
How do you add your Gnoblars to your signature?
PAINT STRIPPING (Part 1):

To start off with the rebirth of my Ogres, I determined that I really needed to start over.  The reason being is that I had tried several different paint schemes (4 or 5 different flesh tones for example) so that the few models that were painted, were starting to get a little "clumpy".  While any ogre will appreciate a little clumpyness around the mid section, as a hobbyist, I knew that these models would look terrible if I didn't strip the paint off of them and bring it back down to bare plastic and start over all together.

After searching around the internet, and a few experiments of my own, I came up with the following way of stripping paint off of my plastic models, and it seemed to work fairly well.  If you are planning on doing this for your own minis you will need the following supplies:

1) Simple Green, it comes in 22oz spray bottles or gallon jugs
2) A couple of plastic cups, I used "Beer Pong" cups.  Don't ask
3) An old toothbrush, in my case I used one of those cheap electric ones with the vibrating bristles
4) A small scraper, I used the GW sculpting tool and a dental pick
5) Another "dipping" tub for rinsing the models
6) Papertowels


* The following pictures were staged after the fact and not during the process.  I didn't think of documenting this part until after I was already done.


STEP 1:
Pour ½ inch, or 1 centimeter, of Simple Green into the cup.  Add warm water until the cup is from ⅔ to ¾ full.


PIC: Cup on the left with ½" of Simple Green, cup on the right with water added to the Simple Green


STEP 2:
Dunk the mini.  I let them soak overnight, but in the end they only need about 5 to 6 hours.  If you let the mini's soak too long, as in a week or so, the plastic does get soft (just ask my ebay purchased Imperial Guard troops), so a few hours is all you need.  Dunk them before heading to bed and they'll be ready to go by morning.

In this case, because these are plastic, they tend to float. You can try wedging them into the cup on their side, or even try to weigh them down, however, in the end I found the simplest solutions was to flip them upside down. Any sand from your basing will come off at this stage.

PIC: Base up Mini


I initially set up 5 soaking cups but then added 5 more realizing it would take too long otherwise.  If you are doing models with a smaller base, you can get 5 or 6 in these cups, but if you're doing a bigger project such as 100 Clan Rats, you could use a 9"x13" pan and just dump them all in the "pool" for a swim.

PIC: An army of cups for my army
How do you add your Gnoblars to your signature?
PAINT STRIPPING (Part 2):

STEP #3: Scrub down
After their soak, I took them out and hit them with the toothbrush, working over a mat of paper towels.  This part gets pretty messy and little flicks of Simple Green and paint will fly into your coffee cup, or onto your iMacs screen if you're trying to watch a movie while doing this.  Ask me how I know.  Wear some old clothes and some glasses to protect your eyes.

The bulk of the paint will either peel off or scrub off in less than a minute with the toothbrush, and your models will be about 80% clean at this point.  You could re-primer coat them now, but you may lose some definition due to paint clogged details.

PIC: Ogre after initial scrubbing.  Maybe 80% clean


PIC:  Ogre after initial scrub with flash to show how much gets left behind.


STEP 4:  Getting Picky
As you have noticed, there is still quite a bit of paint stuck into the details after the initial scrub down.  I decided to break out the GW sculpting tool and a dental pick and got to work cleaning them up a bit more.

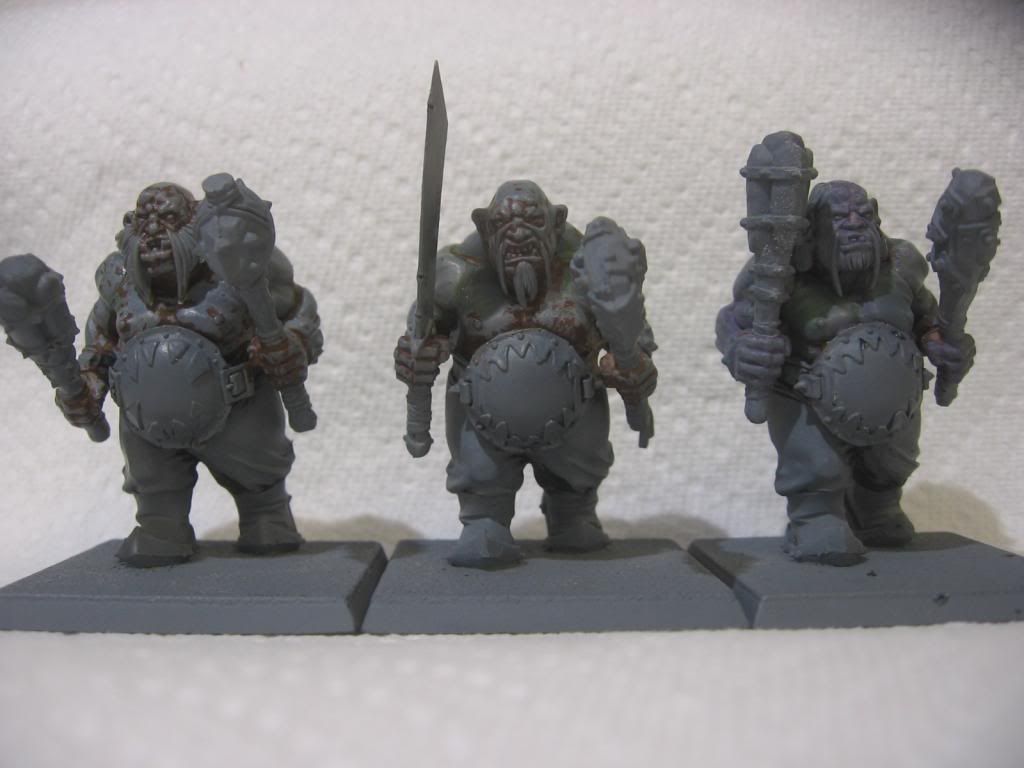
PIC: Left ogre is initial scrub only.  The middle has a little bit of the detail cleaning, while the ogre on the right has seen a few minutes (maybe 5) of work with the pick.


PIC:  3rd Ogre after a couple of minutes with the GW sculpting tool and dental pick. About 90-95% cleaned


STEP 5: Soak in the hot tub
Finally, to get the last of the Simple Green, left over paint bits, and residue off of the model prior to the primer coat, I rinsed the models in lukewarm water.  The water gets really nasty pretty quick and you will need to change it out fairly often.  As stated before this picture is an after the fact shot, simply here as a demonstration piece.

PIC: A relaxing dip


I hope this portion of the thread helps those that may be looking at tackling this part of the project for their own armies.  :D
How do you add your Gnoblars to your signature?
Simple green is certainly a life saver! Cant wait to see how things progress with your army. This will be fun considering your doing a re-paint job from start. So you'll have lots of steps to post.
- Welcome to OS and the gnoblog community!

~ConOgre

YOUTUBE: http://www.youtube.com/user/Connman613
Never heard of Simple green...maybe they don't have it in the UK. None-the-less, looking forward to seeing this army grown from stripped models to a force to be reckoned with. I will be watching, so keep them posts coming.

G_H
SIMPLE GREEN:
Simple Green is a non toxic, all purpose cleaner. 

I checked the list of ingredients, hoping to have something you could match to an available product in your part of the world.  The thing is the ingredients list is kinda odd: Water, surfactant, chelator, builders, colorant, and fragrance. Ok the water, colorant, and fragrance is easy enough, but what the heck is "surfactant", "chelator", and builders?  I know dwarves build stuff, but what the heck does it mean in this case?  ;)

This post is not meant to say that "Simple Green is the only way"  to do this.  There are plenty of other products out there that will do the job.  This just happens to be what I used on my mini's with pretty good results.

PIC: In any case here's a picture of the bottle.  Not sure why, but why not?
How do you add your Gnoblars to your signature?
PRIMING MINI'S

Ok, now that the mini's have had a while to dry out, I went in to the task of hitting them with a primer coat. 

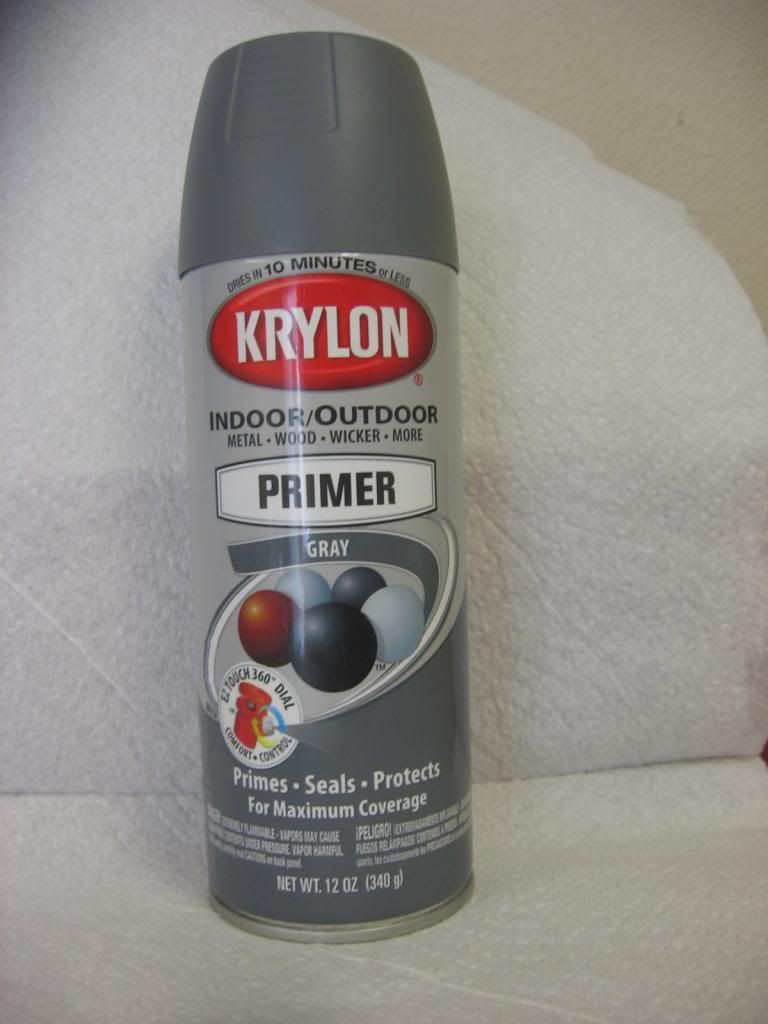
Since I am planning on going with the old school gray skinned ogres, I picked up a few cans of Krylon's gray primer.  (Incidentally, I checked and its "grey" in England, and "gray" in the US.  Stupid I know, but I always got mixed up with the is it E or is it A?  Turns out both are correct according to Webster's dictionary.)

The main reason for this primer verses a GW or Army Painter primer is simply the cost and availability.  The GW and AP products work great don't get me wrong, but for $5 a can at my local craft store verses $15+ a can at the hobby shop, I'll go with 3 cans of the Krylon stuff.  Besides my local game shop only has about 2 cans at a time, so going to the craft store I was able to pick up a bunch of primer in one trip.

PIC: This is the stuff I was using


PRIMING TUTORIAL:
For those that are interested there are only a few key points to be aware of when priming your mini's...

1) Make sure you have the models ready by cleaning off any mold lines you want gone
2) Make sure the model is clean of debris and dry.  This ensure the primer sticks to the model
3) Do not spray when it is really hot out as the paint will dry in mid stream and hit your model like a powder resulting in a really chalky surface that's hard to paint cleanly.
4) Don't rush it. Don't stick your fingers into a wet model. 
5) Spray outside if you can, and use a box to catch the "mist"


I had just put up a pair of blinds for two of the upstairs bedrooms.  It turns out that a 4' box works really well as a spray booth for mini's

PIC:  Ogres lined up getting ready to be sprayed. I set them up on the angle, diamond point to point to not only spread them out a bit, but it also gave me access to two sides of the model in one go.  I sprayed the initial pass, then did it again from above aiming downwards.  After several minutes I turned them around so I could hit their backs and other side.  Finally I laid them down so I could spray them from below.


Primed models in next installment...

-- Vorgrut --  :?
How do you add your Gnoblars to your signature?
PRIMED MODELS:

Ok well at least the majority of them are.

In terms of what is left for this stage, I still have an Ironblaster and some Mournfangs to put together.  I have 4 Mounfangs to complete, but looking at the pic of the current army list I'm thinking I may pick up 2 more.  In any case they will be loaded out with heavy armor, ironfists, banner, and musician. 

In terms of character models, I have both the Firebelly and the Tyrant kits yet to assemble.  I also need to come up with a Slaughtermaster/Butcher and a worthy Battle Standard Bearer.  I'm not a fan of the SM model but I may do a quick ebay grab and see what I can come up with to make it more interesting.

Models yet to buy include some Sabretusk/Wolves and a Thundertusk just because how can you pass up riding to war on a big woolly mammoth?  :shock:

I will probably be doing up some character models along the way as well.  Not sure what exactly but I'll come up with something.


Anyway on to the pictures... the things you really want to see.

PIC: The army all ranked up.


PIC:  The close unit of 3 Leadbelchers behind 10 Gnoblars
By the way... are gnoblars supposed to be on those small bases?  I got these off of an ebay purchase but on these small bases they barely rank up. 

PIC: First unit of 12 Ogres w/ extra hand weapons and full command


PIC: Unit of 10 Ironguts with full command (two models stolen for future conversions)


PIC: Unit of 12 Ogres w/ Ironfists and Full Command


PIC: 2nd unit of 3 Leadbelchers behind 10 Gnoblars (in practice I see the Gnoblars being grouped up instead of units of 10)


Whew!  That's a lot of stuff!  Anyway I hope you enjoyed todays additions.  Let me know what you think on how this Gnoblog is being presented, needed tweaks to the army, or anything else that comes to mind. 

-- Vorgrut --  :?
How do you add your Gnoblars to your signature?
Thats a ton of Ogres, that would literally take me a year or more to paint haha.
Looking forward to the next instalment
~ConOgre

YOUTUBE: http://www.youtube.com/user/Connman613
LOL!  I hear ya on that one. 

Fortunately I'm not looking to do a Golden Daemon winning, display quality paint job.  I don't think I could do that even if I had wanted to.  I'm shooting for a respectable table top quality, something more than just a base coating.  Truthfully, my main goal is to simply get a project done for a change.   :oops:

-Vorgrut-  :?

How do you add your Gnoblars to your signature?
By the way... are gnoblars supposed to be on those small bases?  I got these off of an ebay purchase but on these small bases they barely rank up. 

Gnoblars are supposed to be based on 20mm bases and these seems to be just right. Honestly, there is quite a lot of minis that won't rank up with these small bases if there is any variations between models. :)

But you sure got some painting to do! I hope you'll finish this project and we can be part of it.
I just want to say that English ain't my mother tongue, so it is far from perfect and I can just hope that you guys can understand me. And feel free to point out my spelling errors or major grammatical mistakes :]
Fantastic work Vorgut! I am in the same boat... considering repainting or painting over a lot of my older Ogre paint jobs. The work looks as tedious as I thought it would but also more doable thanks to your photos! Enjoy your simply green :gnoblar: and welcome to the Stronghold!
Forum Primer - Please read! - The Bellower

Ogre Achievements Complete: 10/101
Thank you guys for the inputs.

Pirkkalalainen - Thank you for answering that question for me.  It's been bugging me for a while.  It is good to know that I don't have to mess with getting new bases and all of that.


Randroid - It's really not that tedious at all.
 
1) Set up the dipping cups, or if the models are smaller based you could use a 9'x13" baking pan and dump a ton of mini's in at once.

2) Go do something else for a few hours, like watch the playoffs (American Football), take care of some of the "To Do List" items, or go to bed and tackle the rest of this in the morning.  Me, I got to work recording some guide tracks for an EP I am supposed to be working on for a client/friend for her 5 song EP we're working on.

3) After the time has passed, it only takes about 10 - 20 seconds to scrub the majority of the paint off of the model with a toothbrush.  In fact some of it will be hanging off of the models when you take it out of the solution.

4) Use a dental pic, or the sculpting tool, to clean out some of the details of the model.  I spent maybe 2 hours of actual work to clean up these guys, with a few models need a lot of work, and a few models needed next to none. So about 2 hours of work.  It took me around 3 simply because of taking breaks, grabbing lunch, that sort of thing.


Ok folks.  Thanks again for your interest in this Gnoblog.   I'm off to go mix up some paint for the skin!   :shock:

- Vorgrut -  :?
How do you add your Gnoblars to your signature?
That is a whole lot of Ogres...can't wait to see them with some paint on.
G_H
So I got tired of watching the Chargers give away yet another play offs game, and decided that my time would be better spent putting together my Firebelly. So I did.

There's nothing new or different about this build at all, but here he is, all assembled and primed.  Oh and like any good character model, he did remember to bring his "Mandatory Hero Stone" to the battle.   :)

PIC: Primed Firebelly.  The picture is a little dark but you get the idea.


Up to this point I have been shying away from too much conversion work as most of the models were already assembled and I didn't have any real themes yet.  That being said, after seeing so many amazing pieces throughout the Stronghold, I am starting to get a few ideas for my army. 

My Tyrant is partially assembled (Great Weapon version) at this point so maybe tomorrow will be his debut.


Anyway thanks for the posts!  See ya soon...

-- Vorgrut --  :?
How do you add your Gnoblars to your signature?
Continue this conversation on GitHub ↗

Opens a new GitHub Issue pre-filled with a link back here — sign in with GitHub to post. If someone already restarted this thread, please add to that issue instead of opening a second one.